Showing posts with label Craft. Show all posts

Friday, 20 June 2014

How to make a Hessian/ Burlap Decorator Sack

One of my most recent DIY project using the beautiful Hessian fabrics (aka Burlap in US and Canada) to make this versatile sack.  It looks great as a decorator piece and fantastic for keeping all your items together while keeping your table/bench top clean of clutter.  


First step: Find a piece of Hessian fabrics.  
Nowadays, you can find different beautiful designs just like this one from Spotlight.
Cut to desire size using this Height:width ratio = 2:3


Second Step: Fold the fabrics in half widthwise and pin the right side together.


Third Step: Sew the side with zigzag stitches


Fourth Step:  Sew the bottom with zigzag stitches


Fifth step: Now this is most tricky step.  You have to fold and align the side stitches and the bottom stitches together one on top of another forming a peak with the corner.  Pin so that it is secure.


Sixth step: Sew zigzag stitches across.  I sew this one at 6cm from the peak.  Depending on the size of your sack you will have to move closer or further from the peak.  This is the so called "box corner" that enable the sacks stand up properly. Repeat on the other side and cut the extra fabrics.


Finally, you can turn the sack inside out and fold the top down twice to hide the raw edges.


This is one of easiest project you will ever come across.  
Give it a go if you have a spare 15 mins.

Happy weekend!


Saturday, 14 June 2014

How to make you first quilt

I love making quilt for newborns because I get to choose from different super cute fabrics and put them altogether.  It is simple and best of all made with love.  Knowing that every quilt is unique and they can be kept for life.
So I am going to show you how to make one of the simplest quilt ever.
Hardest thing you have to do is ....
Pick the fabrics you like to put on the quilt.

The following is the fabrics I chosen:
You can chose any fabrics, any arrangement you like.
I like to use 6 different fabric designs to make 5 columns and 6 rows.


Step 1:  Cut a square of 6 and half inch


Step 2: Align your first row


Step 3: Pin 2 squares with right side together and sew them together on one side
I usually sew 5 columns of 6 squares although it doesn't really matter whether you sew columns or rows first


Step 4: Sew the columns together.


Try to align them as accurately as possible


Front panel done.


Step 5: Cut the backing fabric to the size of the front panel


Step 6: Pin the three layers together


Step 7: Iron the ribbon half lengthwise.  Choose wider ribbon to make it easier to sew.  
Pin the ribbon to the border.


Corner is a little bit tricky


Step 8: Sew the ribbon to the border making sure the ribbon is lining up neatly top and bottom.


Finished product.


Friday, 6 June 2014

How to beautify your clothes hanger

If you are a frequent flyer to dry cleaner, you will find that somehow you end up with lots wire clothes hangers.  And you wonder what should you do with these hangers, this is the project for you.

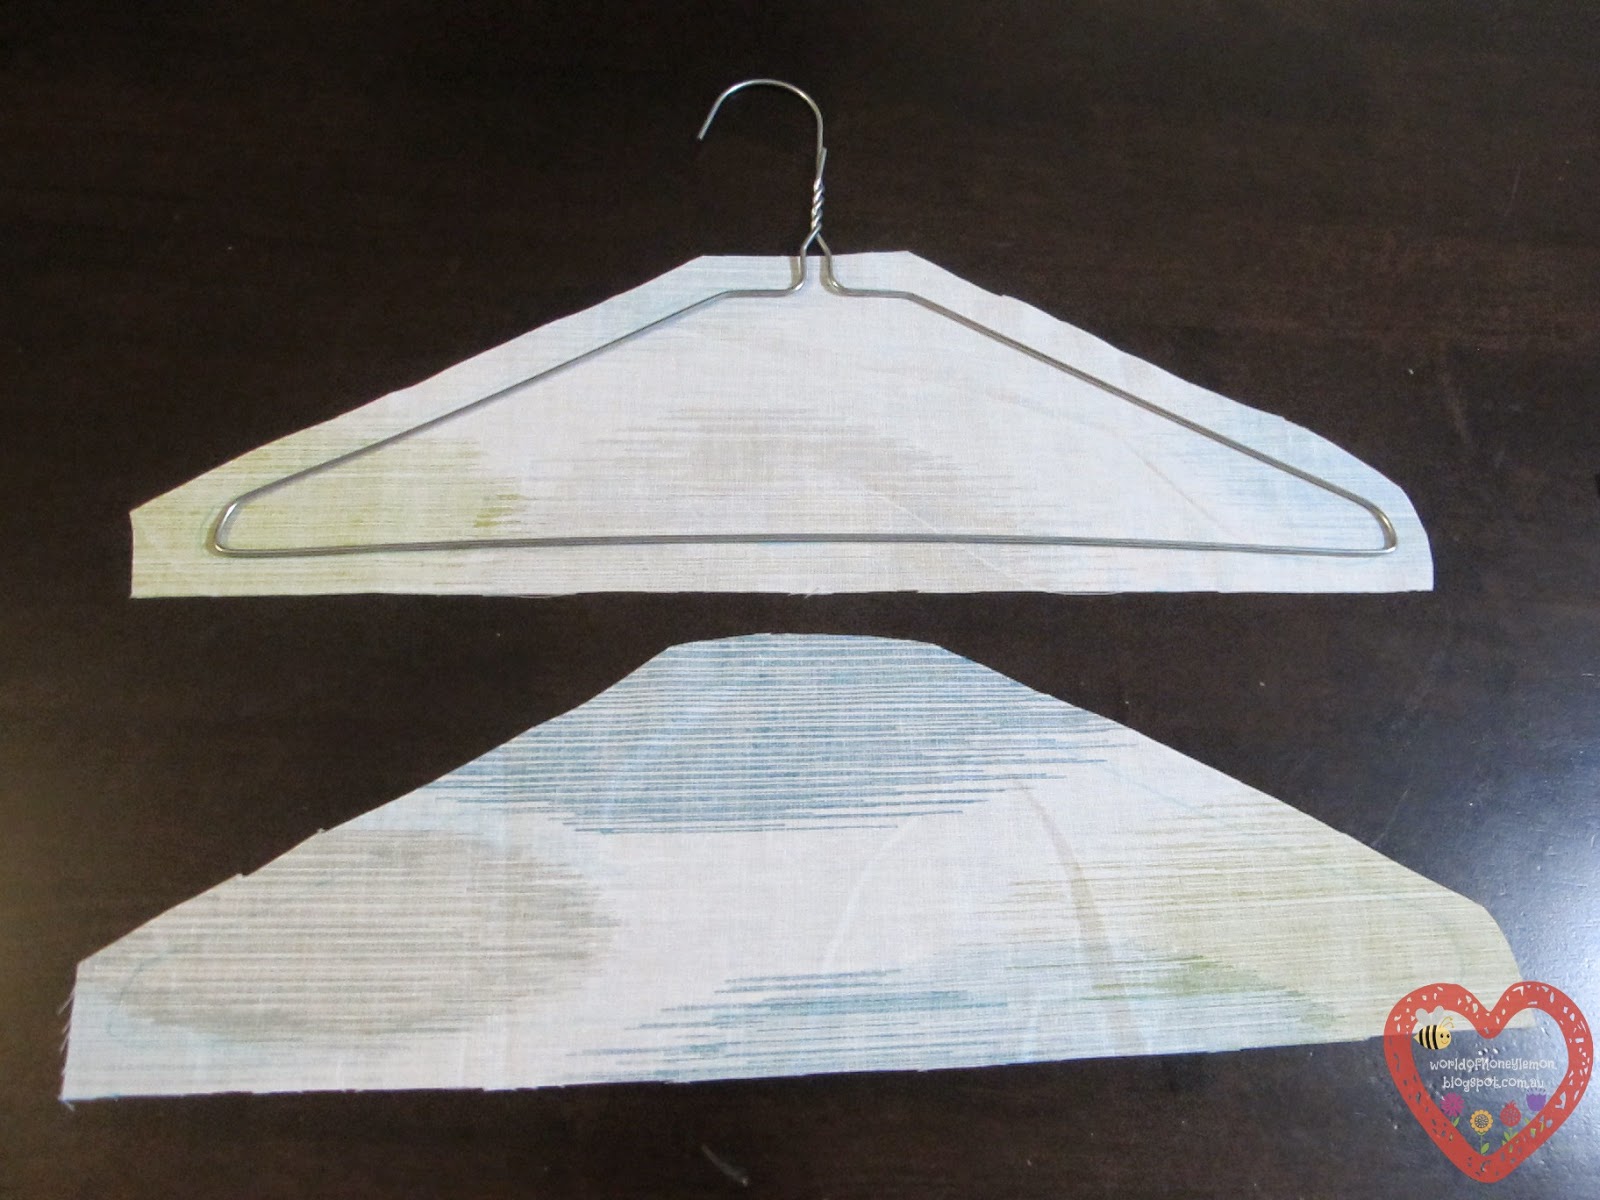
First gather the things you need: Fabric pen, wire clothes hanger, scissors, fabrics

Trace the outline of the clothes hanger and allow an extra inch around the border.  Cut two pieces of the same outline.

Pin the right side of the fabrics together. Sew between the two bees.  Repeat on the contralateral side.


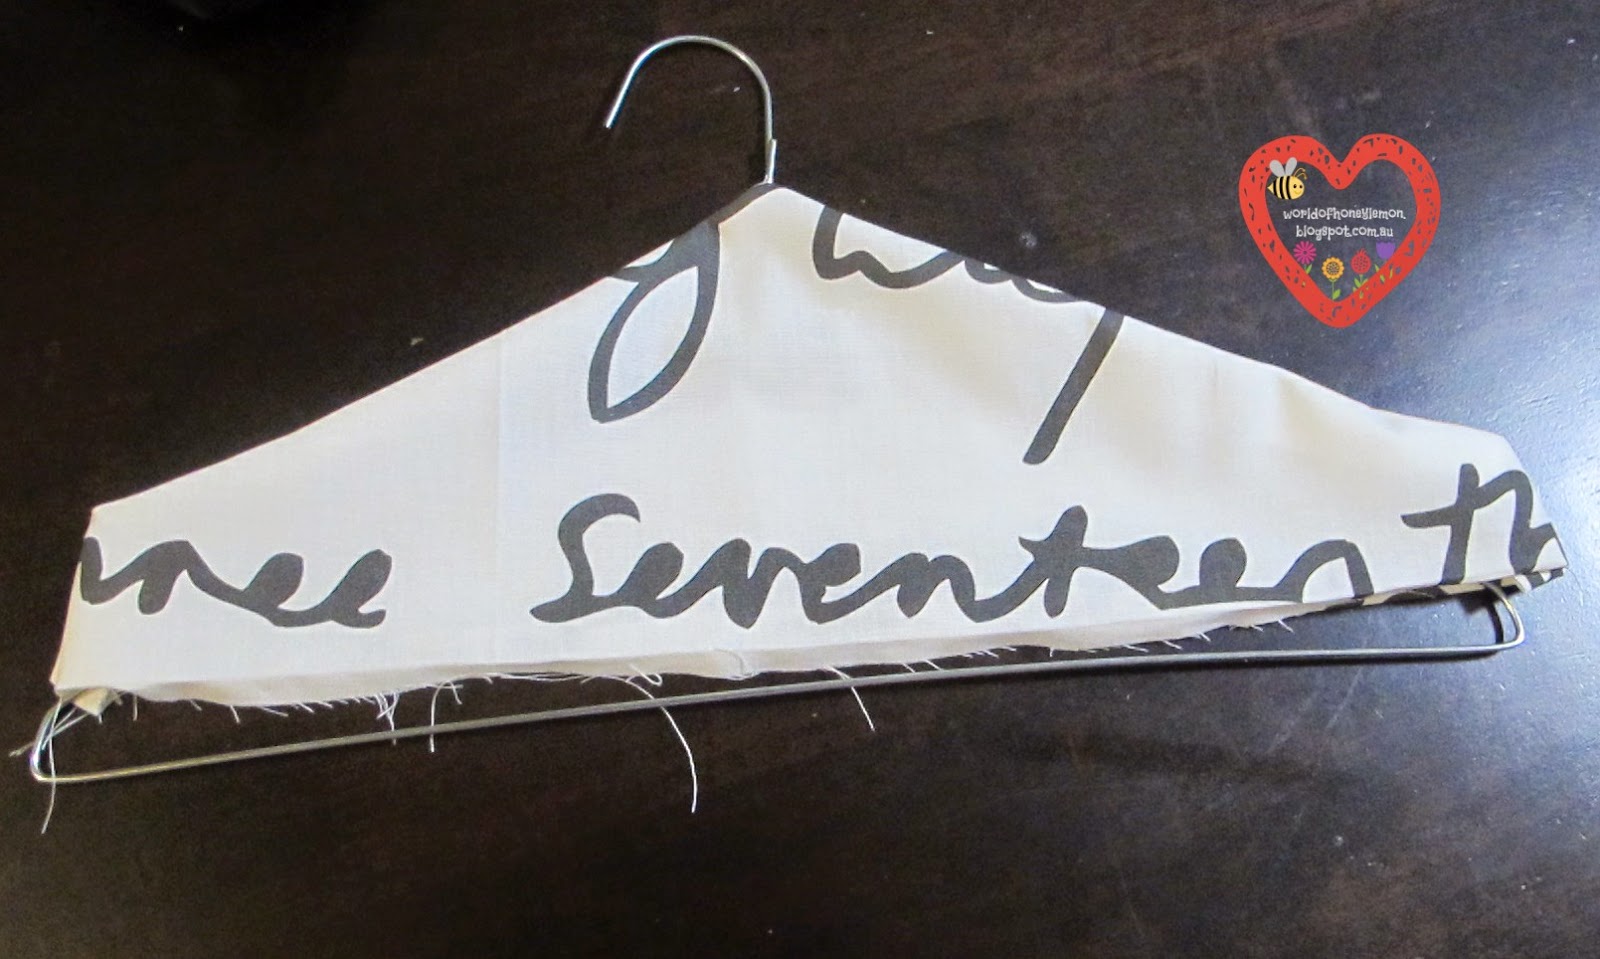
Flip it inside out and insert your clothes hanger.

Finally sew between the two ladybirds. Oh, and don't forget to hand stitch the top where the opening is so that you have a nice finish ^^

Viola. Your beautiful clothes hanger.  
Lovely gift for someone special or keep it to hang your favourite dress.

Wednesday, 25 December 2013

Little Owl's Goodies Bag

Last Saturday, I made a goodies bag for Christmas present.  I chose this cute owl design fabric.  


Step 1: Decide on the size of your bag.  Don't forget to allowed for the seams.


Step 2: Pin it to secure it before cutting.


Step 3: Cut 


Step 4: Use overlocker or choose stitch no: 04 to do seaming


Step 5: Adjust the setting on your sewing machine


Step 6: Sewing the edges of the fabric


Step 7: Fold down the top edge, pin and sew about 3cm from the edge (depending on the size of your string/ribbon). See the straight stitch.


Step 8: Sew an opening in the middle of width of the fabric below the straight stitch for the string/ribbon to thread through.


Close up of the opening.


Step 9: Make a cut in the centre of the opening


Step 10: Pin up the corners of the 3cm edge to make the other opening for the string/ribbon


Step 11: Fold the fabric in half and sew the bottom and side of the bag with straight stitch (Note: the bag should be inside out)


Step 12: Sew the ribbon or tight the string to make a circle.  Make two.  Thread through the openings.  Leave one ribbon hanging longer at each opening for pulling once the bag is finished.


Step 13: Place the ribbons/strings in under the 3cm edge.  Secure with pin if necessary.
Close up look on the opening with ribbons threading through.


Step 14: Sew a straight stitch below the ribbon but be careful not to sew the ribbons as well otherwise you won't be able to pull the ribbons.


Step 15: Glue some deco ribbon over the straight stitch to hide the stitch (optional).  

So next time when you want to give someone special a personal gift, why not make one of this which is reusable and practical.